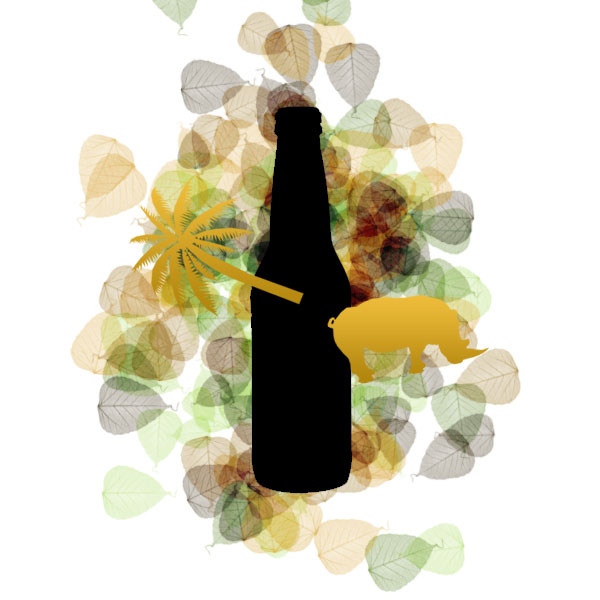
Final Image
Here is the final image that we’ll be creating:

Step 1:
Open up a new document 600X600px in size and using the magnify tool select ‘fit to screen’. Then when the entire document is showing paste your image of a bottle and it will automatically be pasted on to a new layer and be positioned in the center of your document.

Step 2:
Select the white part of your image around the bottle using the magic wand tool and delete it. Then go to layer blending modes and using ‘color overlay’ overlay a solid black color over the bottle. This is really just so that the original bottle photo doesn’t distract from the rest of the work we’ll be doing, it’s nothing permanent.

Step 3:
Next select the Photoshop leaf textured brush from the brushes menu, with the settings shown below:

Step 4:
With a brush of hex code 98701A selected, drag your brush from the top of your bottle shape to the bottom. The leafs should be scattered as shown below:

Step 5:
Now drag up from the bottom to the top of the bottle using the same brush but with the hex code D9A943. Now drag back down using a hex code 473A1D brush. Now back up using a hex code 5C8121 brush. And finally back down using a brush with the hex code ADDA65. The result should be something like the image below:

Step 6:
Now to add some images around the bottle. I select a nice photo of a rhino (http://www.sxc.hu/photo/1028793) and paste the image onto a new layer ABOVE my bottle layer. Then I cut around the rhino using the lasso tool and get delete the white background, leaving only the animal remaning.

Step 7:
Now I resize my rhino using the transform tool and rotate it to fit in a nice position, being careful to slightly overlap the side of the bottle with the image. I also go to layer blending options and apply a gradient overlay, ranging from colors EDBC3A to B1840C.

Step 8:
Now use the same technique to place a palm tree over your bottle image.

Step 9:
Now I repeat the same technique, placing a beach umbrella, woman in a bikini, a cocktail glass and a guitar. I also select my palm tree layer and go to edit > transform > flip vertical, and then resize the tree to fit nicely below the original. I then duplicate this layer and move/rotate it to fit at the top of the bottle. You can experiment with different objects, but just remember to make the edge of each overlap with the bottle slightly.

Step 10:
The leaf pattern in the background is a little distracting right now, so I reduce the layer opacity to 65%

Step 11:
Now I find a great image of a cocktail glass after searching for ‘splash’. You can see the original photo here: http://www.sxc.hu/photo/577436. I paste the image onto a new layer above all my current layers and move it so that the splashing liquid is over my bottle/images surrounding it.

Step 12:
Now I changing the layer blending mode to ‘overlay’ and as you can see the splashes from the photo are combined nicely with the images below. Move the photo around until you are satisfied with the result.

Step 13:
Create a new top layer. Now select the radial gradient tool, and create a gradient ranging from colors CF9F0C to 8B5C00. Drag this gradient from the center to the edge of your image to achieve the effect below:

Step 14:
Now set the layer’s blending mode to overlay. This achieves a really nice effect, giving the images below far more saturation and intensity. What I was going for was a swirl of color and energy, with the movement of liquid being poured.

Step 15:
There were two leafs that looked a little out of place in the top-left of my image, so I simply went to the layer with my leaf pattern on, selecting these 2 leafs and deleted them.

Step 16:
Now I want to merge all of my layers together except the bottle layer. I can’t simply ‘merge down’ as this will mess up all of my layer blending modes, ruining the final effect. Instead, I simply hide my bottle layer, and then go to layer > merge visible. This will merge all of the layers that are visible, but not my bottle layer which has visibility turned off.

Step 17:
Now, because the background layer was visible, it was merged with the other layers. We don’t want to be editing a background layer, so I simply duplicate my background layer, creating a new layer that I can edit above my background layer. Then I go back to my background layer, select it all, hit delete to get rid of my original merged image and leave a plain white background. This way I have a new layer which is better to edit, and have reverted to my original white background layer. You can see the stages of this in my layers palette below:

Step 18:
Now I make my bottle layer visible again. I select the area around the bottle by clicking outside of the bottle shape using the magic wand tool. Then I go to select > inverse to invert my selection, leaving only the bottle shape selected. Then I go to my layer containing the cool splash image and hit delete, leaving a bottle shape in the middle of my splash. I go back to my bottle layer and make that invisible to let my image show through.

Step 19:
Now I create a custom shape in roughly the center of the bottle, and apply a gradient overlay in the layer blending options. I use the settings shown below:

And we’re done!
To finish it off I add a little text.


