What is an electronic signature?
In case this is all new to you, let’s clarify what an electronic signature is.
In the olden times, we would sign contracts with ink. Files would be sent via email, printed, signed with a pen, scanned and emailed back. An electronic signature is a digital representation of this process, with all the legal authority that comes with penning your name to a document.
Then there are digital signatures. It can be confusing because electronic signatures and digital signatures are not the same. We have a great article clarifying the difference between digital signatures and electronic signatures. The short version is that digital signatures are great for when you need to sign a document, but collaborating remains a challenge.
This is where electronic signatures come into play. The entire system was designed to have the fewest number of steps possible, ensuring a quick and easy signing process regardless of the number of collaborators. To help visualize the procedural difference between the two signature flows, you can download this PDF showing a step-by-step of what happens behind the scenes.
An application like Soda PDF will provide you with all the tools you need to create a “document package” with their E-Sign module. A document package is the group of PDFs you are sending off to get signatures. We wrote another article that covers how to create an E-Sign package in Soda PDF.
How to electronically sign a document
Opening document package
Each signer will receive an email like the one below.
- Click on Go to Documents in the email.

The document package will now load in the Soda PDF signing ceremony interface. Before you can apply a signature, you will need to agree to the Terms of Use and Privacy Policy.
- Click on Start Signing to accept and begin.

You can now go through the document package and begin signing. On the left-hand side, you will see a count of all the required signatures along with a summary of documents in the package.

Configuring your signature
Before you sign, you can set up the aesthetic side of your signature.
- Click My Signature.
- Choose Signature or Initials.

Under Type you can choose from one of the available font options.
- You can update your name or initials.
- Click on the font style you want to use.

Under Draw you can use your mouse (or touch screen) to create a digital representation of your actual signature.
- Select Draw.
- Hold down your left mouse button and drag the cursor to add your signature.
- Click on CLEAR to start over.
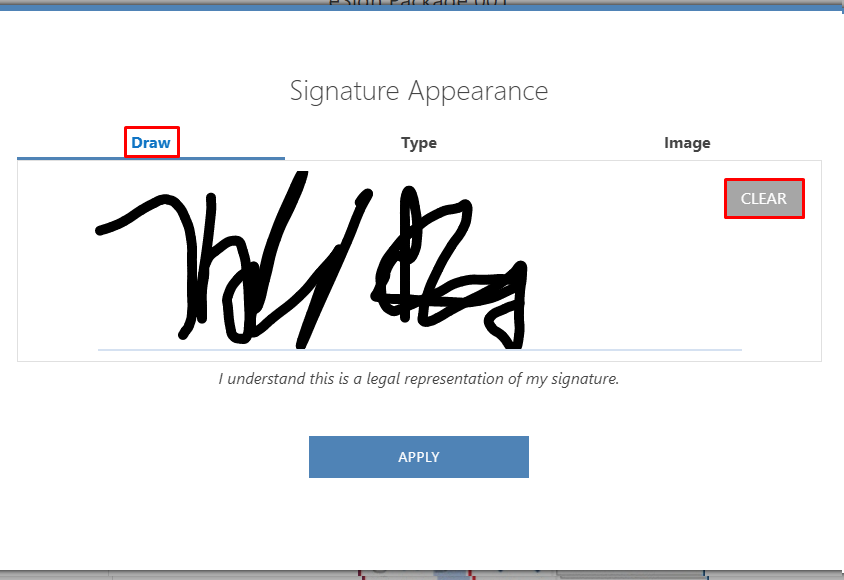
Under Image you can import an image of your signature.
- Click Upload.

- Browse your computer for the file you want to use.
The image will appear in the window.
- Regardless of the option you have chosen, click APPLY to confirm that signature style.

Singing the document
You will see each signature field in the document along with an arrow drawing attention.
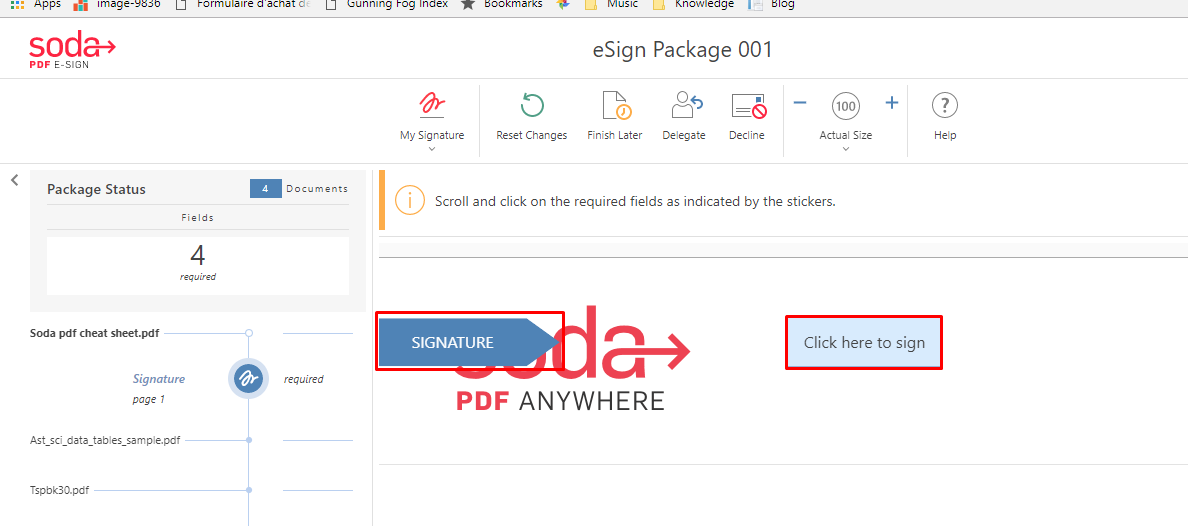
You can scroll through the document to review it before signing. If you are having trouble finding the signature field, there are a couple of ways to get to it.
- You can click GO TO NEXT FIELD.
- Alternatively, click the button below the number of required fields.

- Click on the signature field.

The field will update with the signature design you chose.
- Click GO TO NEXT DOCUMENT to continue.
- If there are more fields in the same document it will say GO TO NEXT FIELD.
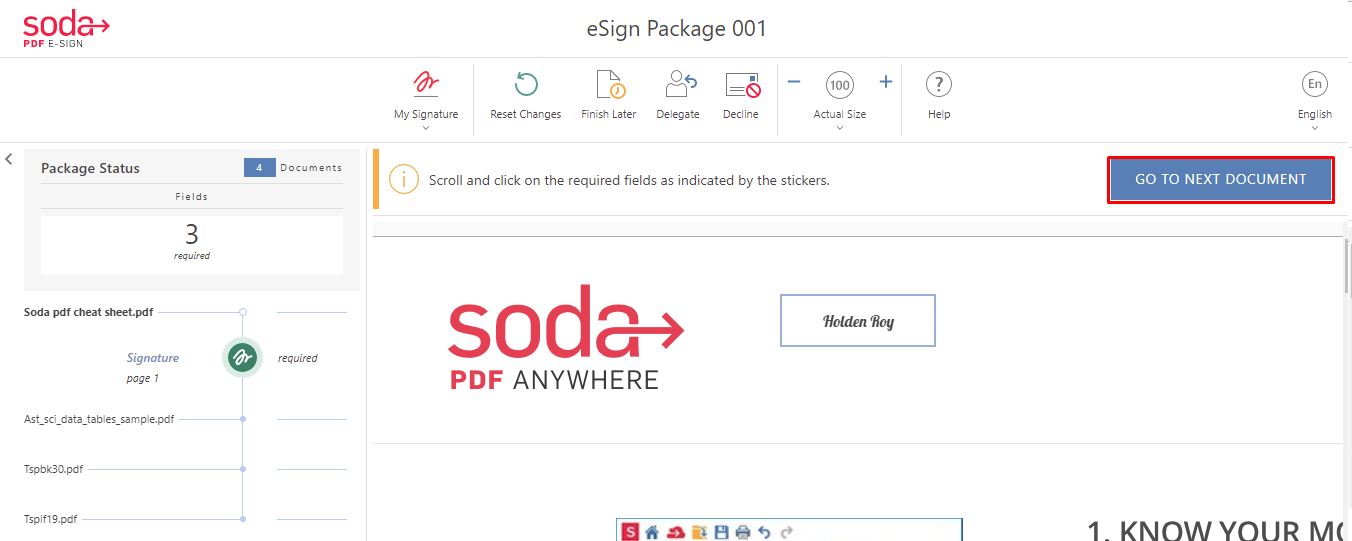
You’ll be brought to the next signature field and you can continue signing.Those are the steps on how to electronically sign a document, now onto the signer options.
Signer options
At any time, you can start over.
- Click Reset Changes.
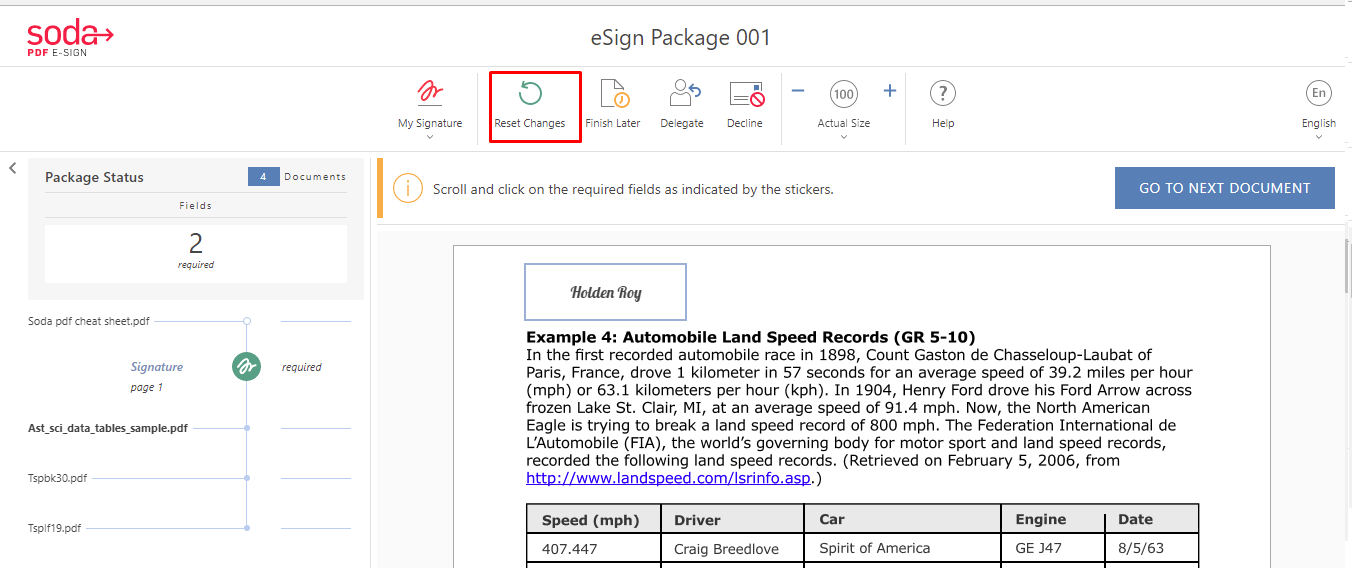
You will see the notification below advising you that any progress you’ve made will be undone.
- Click RESET CHANGES.

You will be brought back to the beginning of the document package and all signature fields will be reset.
You have the option to save your progress so you can continue later.
- Click Finish Later.

You will see the popup below advising you that your progress has been saved.
- Click Finish.
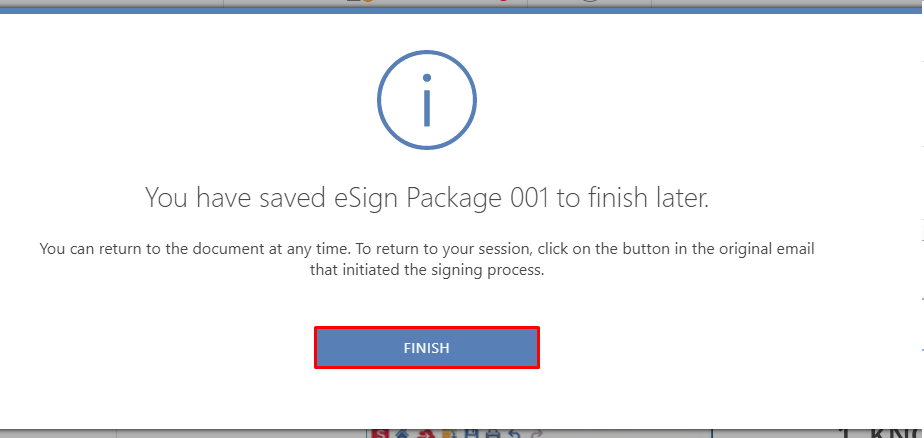
You can go back to the email we sent about this signature request and click the link to continue signing.
The person who created the document package can turn on a couple of options for signers. They can authorize the signer to pass along signing responsibility to someone else.
- Click Delegate.

You will need to fill out the new signer’s information.
- Enter the new signer’s email address.
- Add their name.
- Once you enter the name and email, the buttons to confirm will appear.
- You can choose to add a reason explaining why you are delegating signer responsibility.
- Click Delegate to confirm.

You will see the popup below notifying you that an email was sent to the new signer. The creator of the document package will also be notified by email of this change.

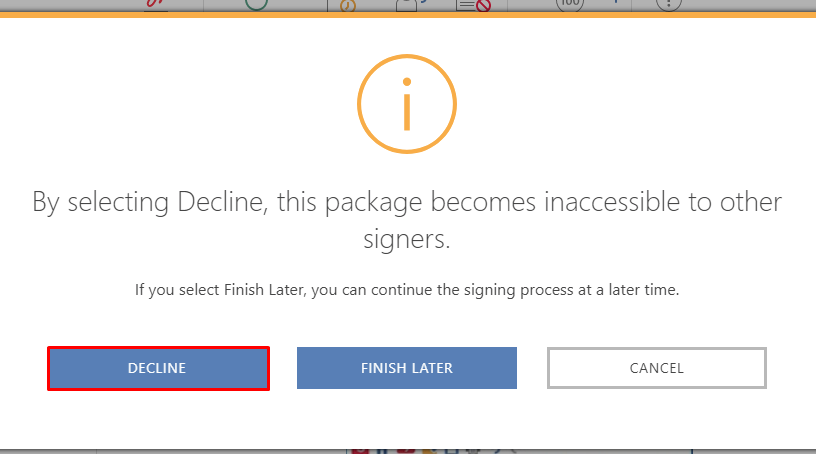
Finally, if the option has been enabled, you are able to decline. This will cancel the document package entirely.
- Click Decline.

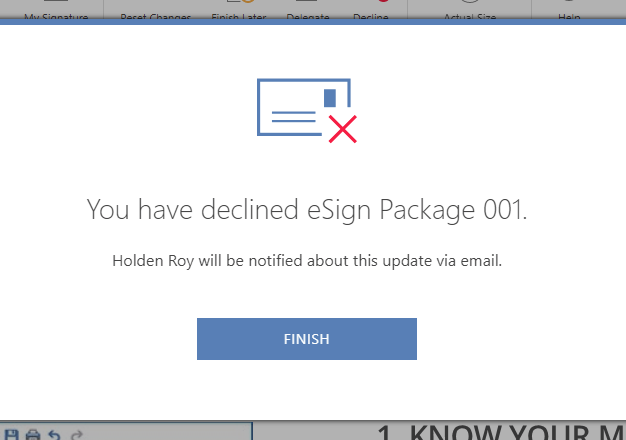
You will see a notification confirming your action.
- Click Decline if you want to cancel the package.
- Enter the Reason for Declining.
- The option to continue will appear after you do.
- Click DECLINE.

A confirmation will appear.
- Click FINISH.
